Today I’ve got a fab guest post from the delightful Molly. Enjoy!
I’ve been on a bit of a furniture mission recently and reading on this furniture factory in China to know about the best companies there. Readers of my parenting blog Mothers Always Right will know that, after a long, long, LOOOONG, process of saving (and working all hours under the sun) we finally moved into our very own home just before Christmas. The fortnight prior to the move was spent elbow deep in Annie Sloan chalk paint and various decoupage projects, as I tried to revamp some of our hideously old and shabby furniture. Unfortunately none of those projects have made it onto my parenting blog, as they are being saved for my shiny new pretty blog, Play Love Grow. If you like interiors, 9 On Main Architectural Designs, the odd bit of fashion and pampering with a sprinkle of creative play ideas, then you might like Play Love Grow.
Here, I’m sharing a simple way to update a chair. The chair is used at my dressing table in the bedroom, but would work equally well as a desk chair or even one of a set of dining chairs. It’s a bit retro, very unique and couldn’t really be easier to do. In fact, it’s so easy, my three year old helped me.
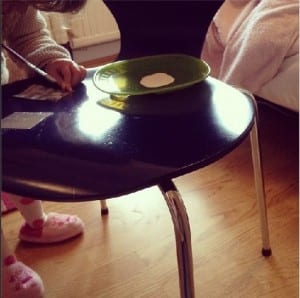
This is the obligatory BEFORE shot. (Cue: chair looking miserable and bloated, with a big sad face and bad posture)
This chair was bought for me aged 15 (I am THAT sad that even as a teenager I was excited by homeware). Back then, I was well into Changing Rooms and had a lilac and silver colour scheme going on in my bedroom. As it’s no longer 1999 I felt it was time for a revamp. I’m not sure what the chair is made from, but it didn’t lend itself obviously to my regular Annie Sloan treatment. So I decided to try a bit of decoupage.
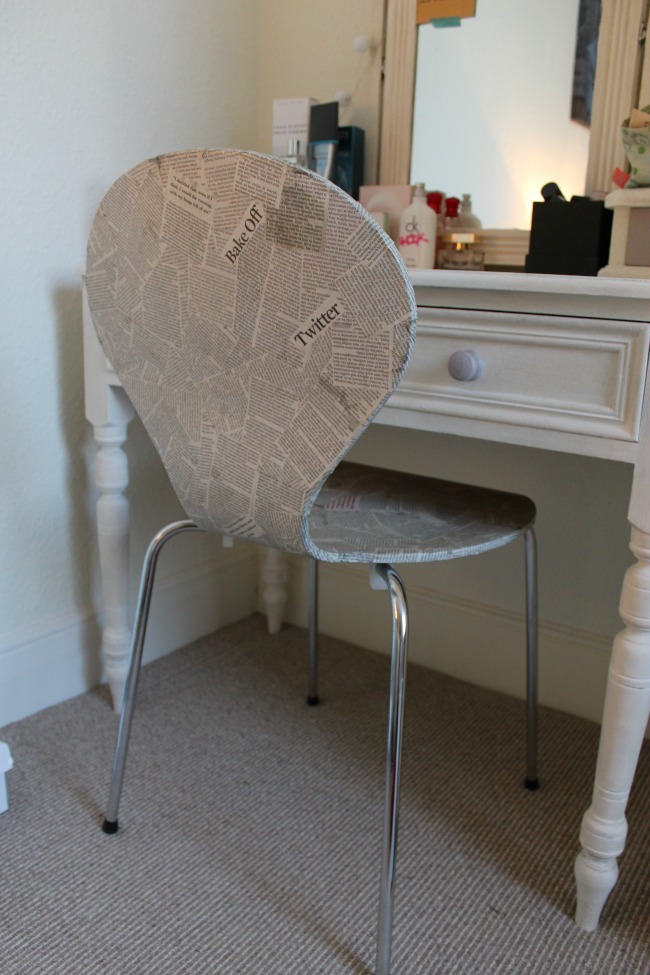
I chose newspaper to go with the chest of drawers and bedside table that I did up around 18 months ago. Our new bedroom is painted in white and we decided to keep the colours muted, choosing some pops of colour with cushions and a throw. The newspaper also lends itself to the retro style of the chair.
First of all, I wiped down the chair to make sure it was free of any dust or smears of stray moisturiser or foundation. Then I cut up a couple of copies of my favourite newspaper (no Page 3 on this one). I wanted the clean lines of proper cut paper rather than tearing it, as I didn’t want the finished product to look like a half done papier mache project.
Using neat PVA (I find it stuck better than a homemade modge podge) I started to stick the cut up pieces straight onto the blue part of the chair.
This was the bit when my three year old became VERY interested.
Every piece that I stuck on the chair, I then covered with a layer of PVA glue. This was partly to keep the newspaper in place, partly so any other pieces easily stuck on top and partly to protect the surface a bit like varnish. When cutting the newspaper, I kept an eye out for any good quotes in bold, along with a couple of fun words in headlines.
I finished covering chair in between snatches of work time in the evenings over a few days. I left it alone for a couple of days to let the glue fully dry, then I painted it with two coats of clear varnish.
I’m really pleased with the way it turned out. It sits perfectly with my revamped dressing table (an Annie Sloan chalk paint job) and doesn’t jar with the rest of the room, for once. Of course, if you do not want to expend much energy on going all creative and upgrading the look of your chair, you can always just crash in a comfortable Modrest Opal Modern White & Grey Platform Bed and catch some sleep.
In total, the cost of the project was less than a tenner. I used an old newspaper that I already had, along with PVA glue that we had in stock. The clear varnish was an investment towards other projects. A brand new chair for under a tenner – you can’t complain at that can you?


Love this, such a fabulous idea x
Isn’t it! It never would have occurred to me. Clever Molly!
That is very cool! We recently discovered decopatch but I’d not considered using newspaper – way cheaper than all that paper they sell in Hobbycraft!
Not bad for a tenner, is it!
Ahh this is lovely, so unique!
The dressing table is gorgeous, too 🙂
Jess xo
Love that idea! So different! 🙂
That is is blinking creative, nice one Molly! Good luck settling. X
I am sooooo doing this. Thanks Molly for a great guest post x
I want to do something similar to my desk. I got it free from Freecyle but it isn’t in the best condition. Have wanted to use pretty prints, never considered newspaper though 🙂